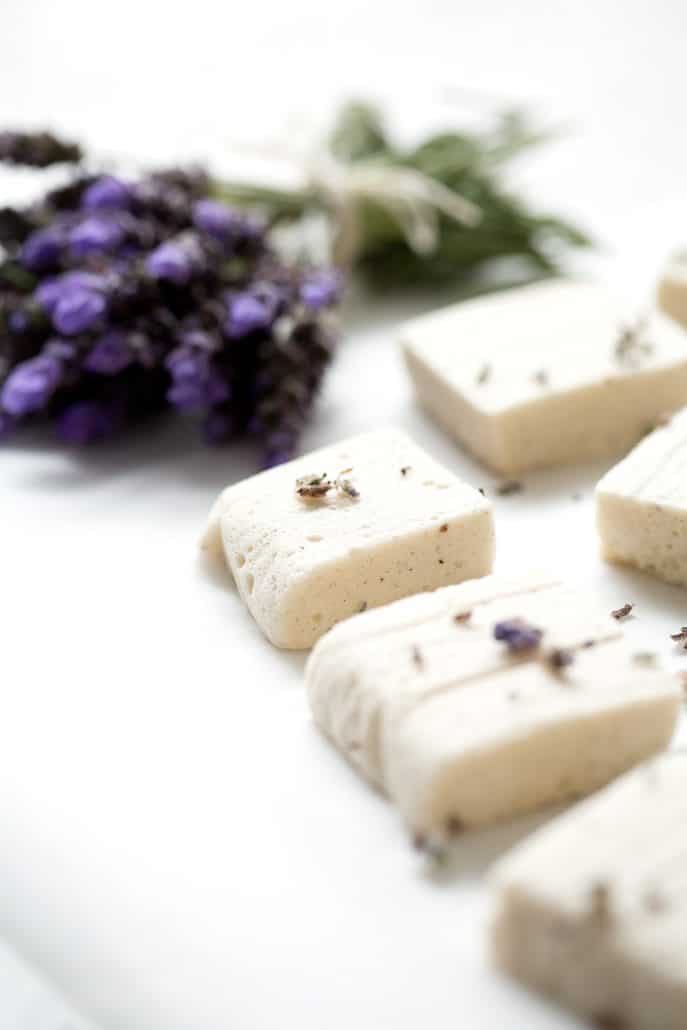
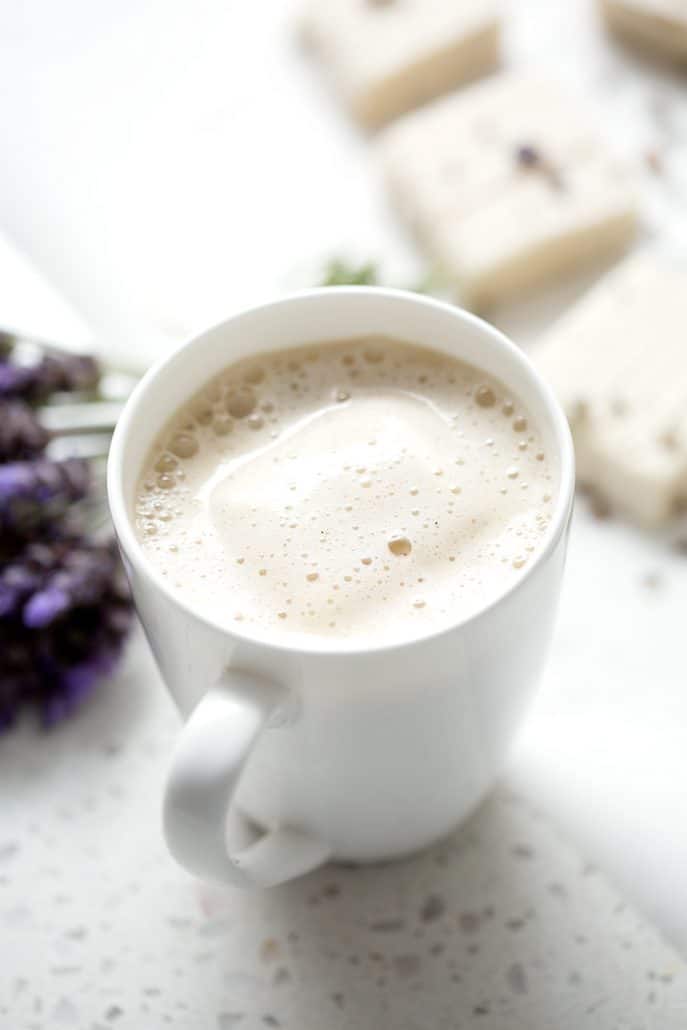
These homemade AIP Honey Lavender Marshmallows are my new favorite AIP friendly treat. It’s so nice to have an all-natural version of marshmallows. This recipe is flavored with dried lavender and tastes amazing in a hot cup of Earle Grey tea.
A kitchen aid standing mixer is something that I had wanted for years. I finally got one as gift a few years ago and was ecstatic. I ended up going AIP a few months later and stopped baking completely which was a real bummer. The mixer has mostly just sat on our counter collecting dust for the last few years. I was thrilled when I found a recipe that uses it. You can use a hand mixer but you need to have a little more patience to stand there for 10 minutes while the mixer thickens.
This recipe is relatively easy to make but it does require your complete attention. When heating the honey, keep it at a low boil. You don’t want to turn it to burn or boil over the pan. Additionally, you need to watch the liquid as it thickens in the mixer. I once set the timer then let the stand mixer do its job and moved on to something else. When the timer went off and I looked at the bowl, the liquid had gotten too thick. It was difficult to pour and I wasn’t even able to smooth it out in the pan. It was just a giant blob.
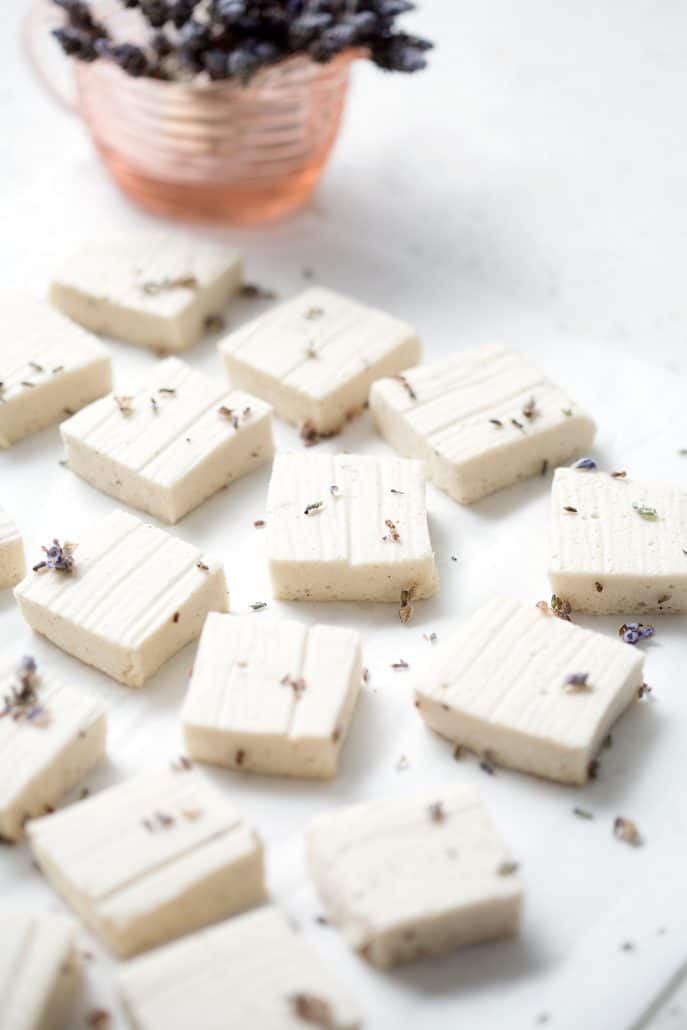
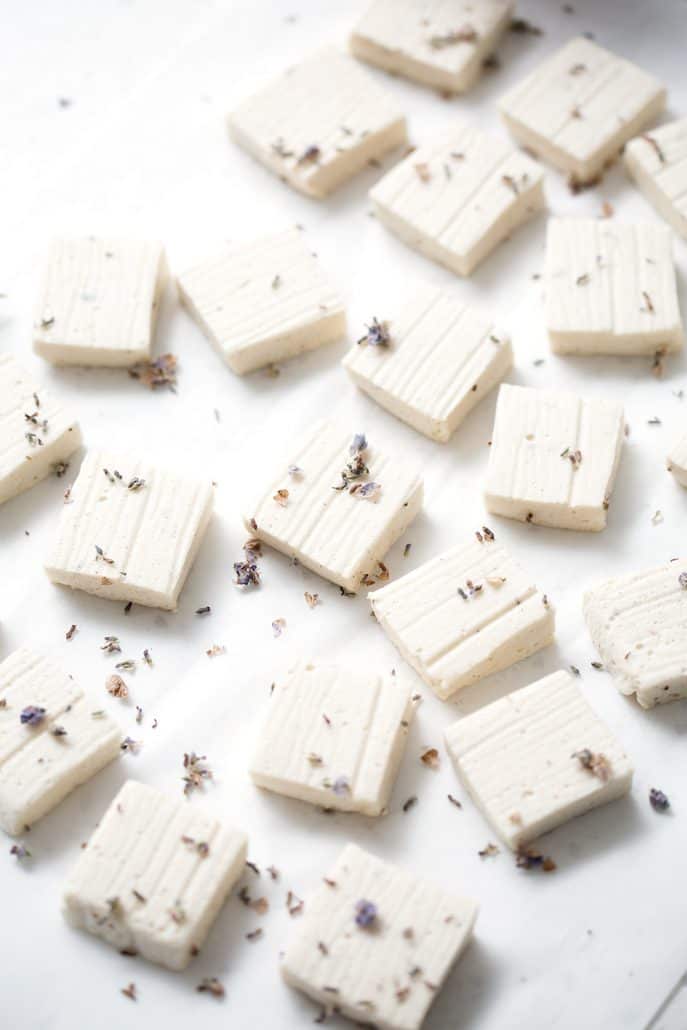
AIP Honey Lavender Marshmallows
Equipment
- Stand Mixer with Whip Attachment
Ingredients
- 4 tablespoons Gelatin
- 1 cup Honey or maple syrup
- 2 tablespoons Dried Lavender make sure it's edible
- 1/8 teaspoon Salt
- 1/2 teaspoon Vanilla Powder or 1 teaspoon Vanilla make sure it’s AIP friendly
Instructions
- Prepare your standing mixer with the whip attachment.
- Pour 1/2 cup of water into the mixer bowl and add the gelatin then whisk slightly to incorporate and set aside.
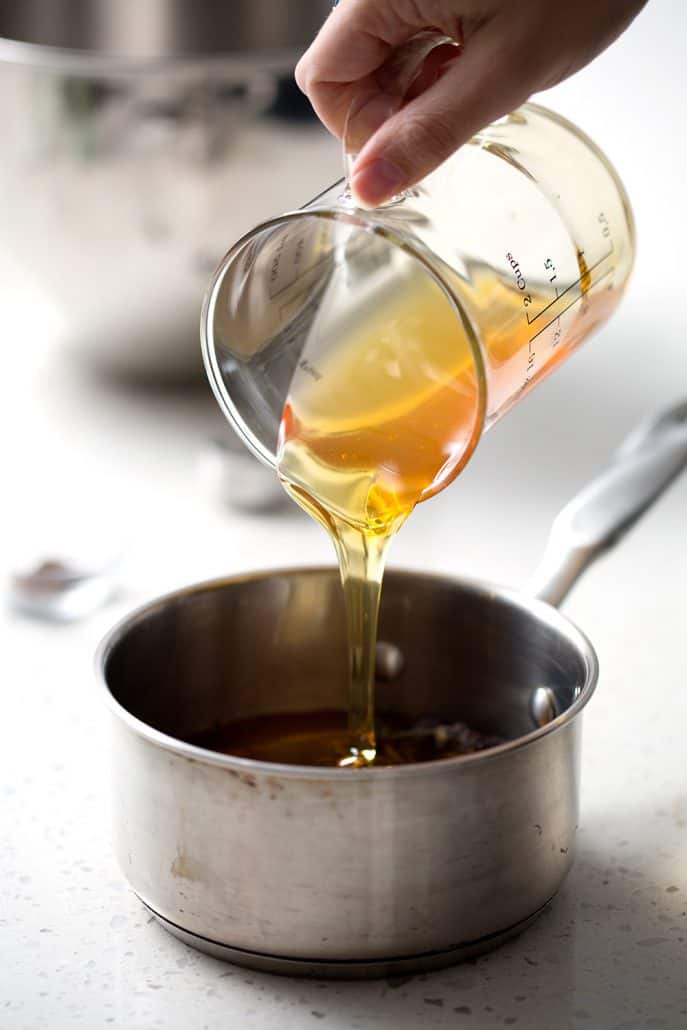
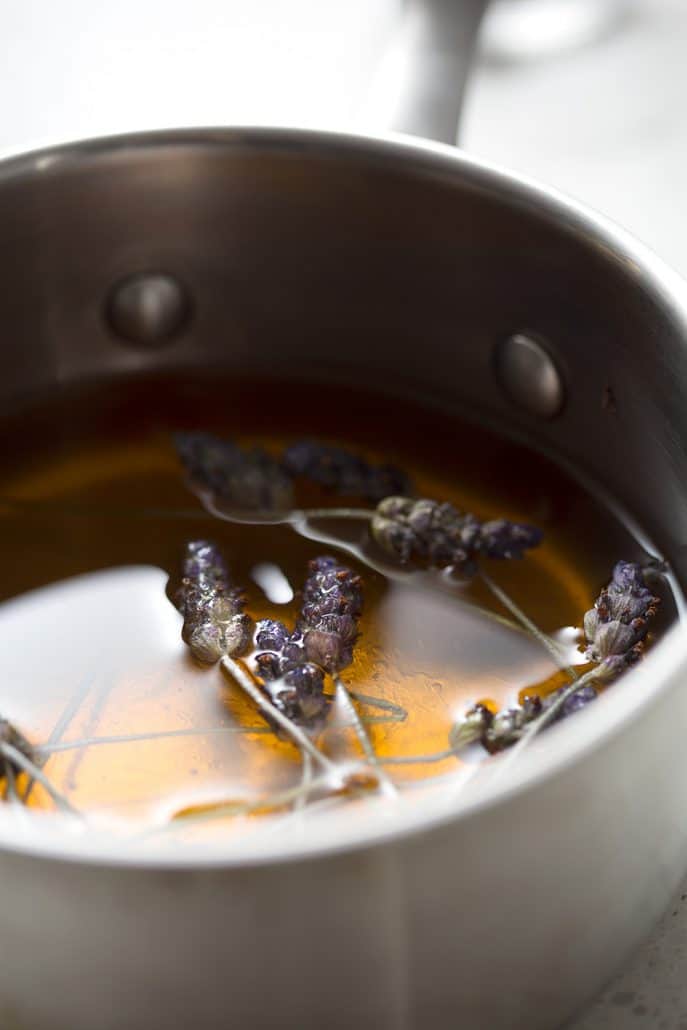
- Pour another 1/2 cup of water, honey, lavender and salt into a small saucepan.
- Slowly bring the water and honey mixture to a boil.
- Then let cook at a low boil for about 8 minutes while stirring.
- Remove the lavender using a strainer.
- Slowly pour the honey mixture into the bowl with the gelatin mixture.
- Turn on the mixer to medium while adding the honey mixture.
- Once the honey mixture is added, turn the mixer to high for another 10-15 minutes or until it forms a stiff cream the consistency of marshmallow cream (it should form gentle peaks).
- Add the vanilla in the last few minutes of whipping.
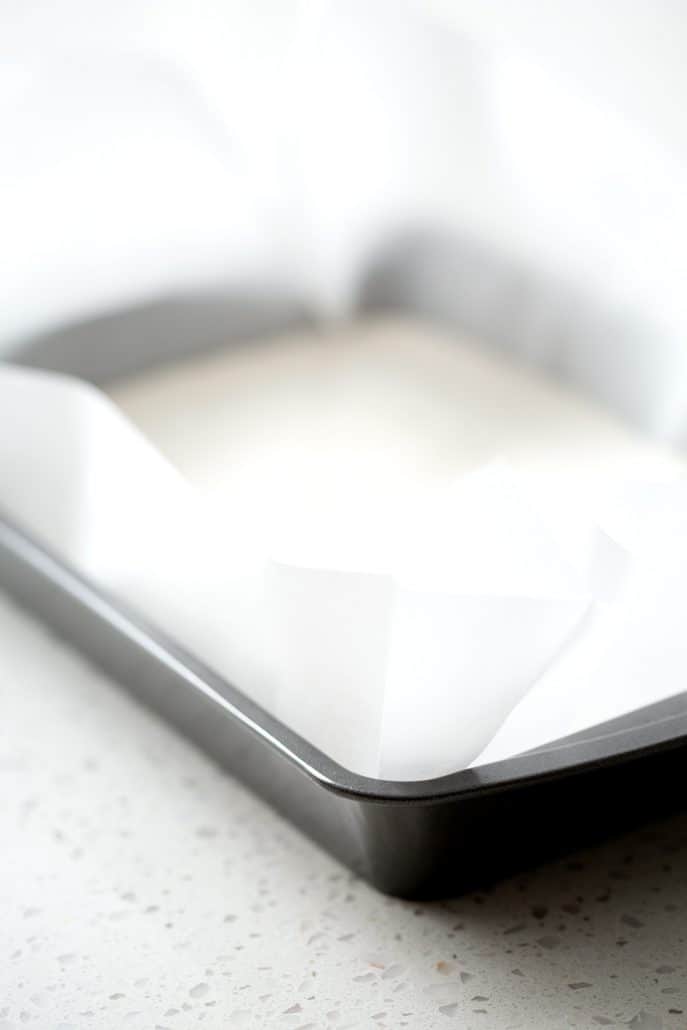
- Line a 9x13 inch baking pan with parchment paper, leaving some on the sides to be able to pull up.
- When marshmallows are whipped, pour into the greased/lined pan.
- Using a spatula, smooth the top so it’s even.
- Let sit at room temperature for 8 hours or overnight.
- Gently remove the marshmallows from the pan by either flipping the pan onto a cutting board or using the parchment to lift it out.
- Using a pizza cutter or knife, cut the marshmallows into pieces.
- Store in an airtight container using parchment paper if you need to stack the marshmallows.
Notes
Nutrition


I can’t wait to try this recipe. Homemade is always better.
Hi Beth,
How long can you store these marshmallows? Can you freeze them? Thanks 🙂
I've never tried to freeze them before. They usually last for about a week in the fridge. I hope you enjoy them!