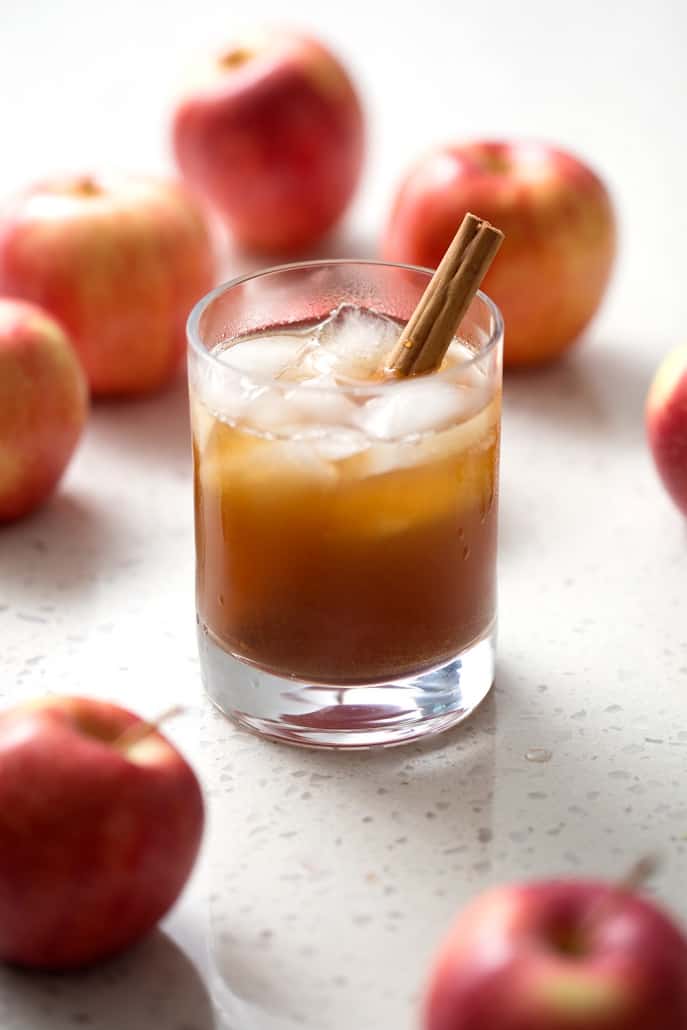
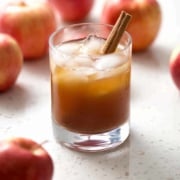
This Apple Cider Kombucha recipe reminds me of sparkling apple cider. It has the sweet apple flavor but with a hint of cinnamon and cloves. My husband was convinced that I just found a way to ferment apple cider instead of tea. He couldn’t believe that this Apple Cider Kombucha didn’t come from pressed apples.
Good apple cider is hard to find. I grew up on the east coast where growing apples and making apple cider was commonplace. Every fall we’d go pumpkin picking, take a hay ride and then watch the farmer press apples for cider. I was shocked when I moved to California and couldn’t find local cider (or any cider really) in the stores during the fall months. It’s so nice that I am able to recreate that flavor of home even though it’s not even cider at all.
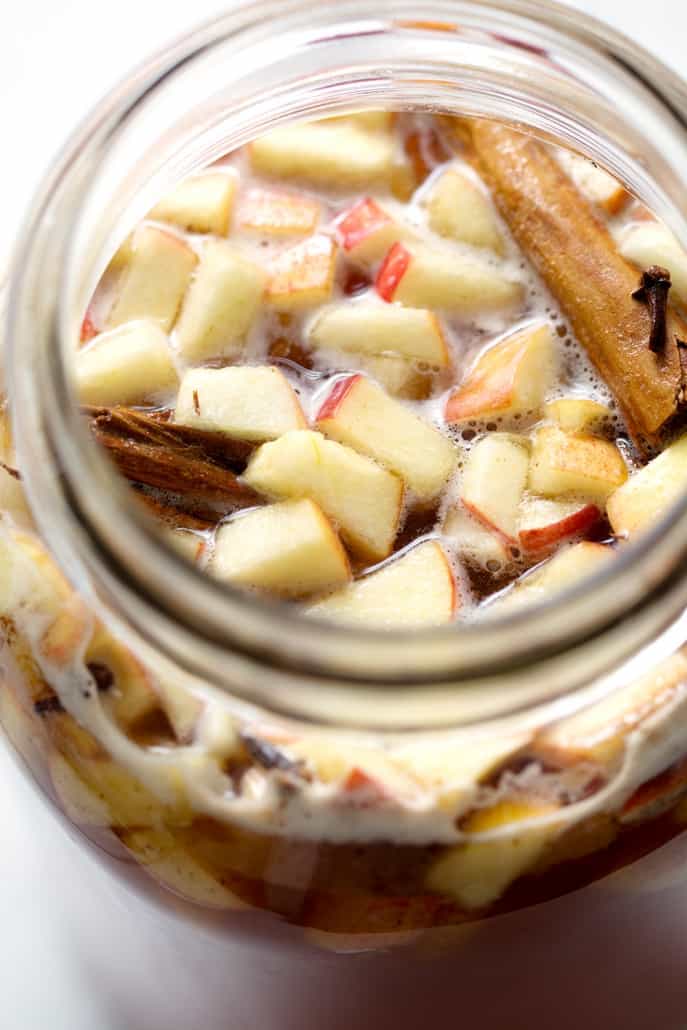
A lot of flavored kombucha recipes will tell you to bottle the kombucha right along with the fruit. I don’t like to do that because I don’t want to have to strain the kombucha as I drink it. It’s definitely adding another step to the kombucha-making process but it makes it taste so good that I don’t mind. This is the process I use for almost all of my flavoring recipes.
This is a more advanced kombucha-making recipe. I’d try just following my How to Make Kombucha Tea at Home post and the Honey Lavender Kombucha flavoring recipe before trying this one. It will be much easier if you’ve got a handle on the basics.
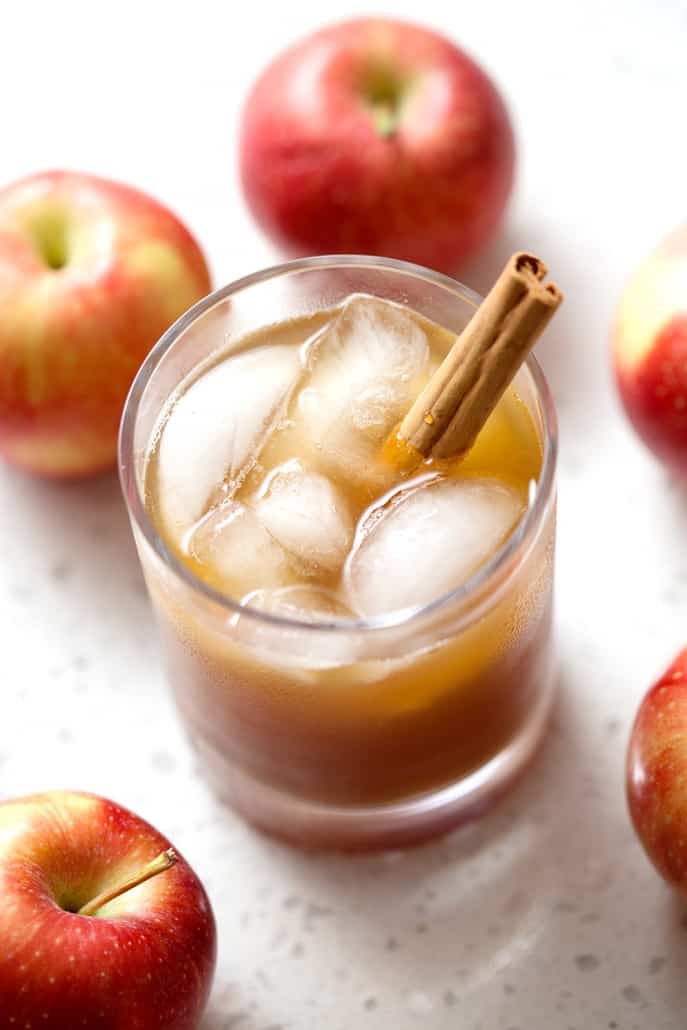
Apple Cider Kombucha
Ingredients
- 2 Apples chopped
- 1 large cinnamon stick
- 1/2 teaspoon Cloves
- 1 cup Honey
- 10 cups Unflavored Homemade Kombucha
Instructions
- Add the apples, cinnamon stick, cloves and honey to a saucepan.
- Heat while stirring to combine the apple mixture.
- Remove from heat as soon as the honey softens.
- Let the honey and apple mixture cool to room temperature.
- You’ll want to add the apple mixture to your jar of homemade kombucha after you remove the SCOBY but before you transfer to bottles.
- Cover with your cloth and secure with a rubber band.
- Place somewhere at room temperature out of direct sunlight (such as a cabinet) and let ferment for 1-2 more days. The temperature greatly affects the speed at which the tea will ferment.
- When you are ready to bottle, remove the apple mixture from the jar.
- Using a strainer pour the kombucha into large measure cups. The measuring cups will make it easier to pour into the bottles.
- Next pour the kombucha into individual bottles leaving some room at the top then cover tightly then place in the fridge.
- If you like carbonated kombucha you’ll need to do a second fermentation.
- To do a second ferment, instead of placing the bottles in the fridge, place the bottles somewhere at room temperature out of direct sunlight (such as a cabinet) and let them continue to ferment for 1-2 days.
- Take care to ‘burp’ the bottles each day. Burping means that you need to open the bottles and release the pressure the fermentation creates. This is no joke. Do not forget because if the pressure builds up, the bottles could explode.
Notes
Nutrition
If you like this recipe, be sure to share it on Pinterest or leave a comment below!


This is just delicious. Thanks for the recipe.
This sounds wonderful and I'm trying it soon! Fall is in the air for sure here in IL. Just letting you know there's one little error in recipe. It mentions mango where I believe it should say apple. No biggie! Just thought you may wish to know. I can't wait to give this recipe a go. Thanks for this seasonal gem!
Oh no. Thanks for the heads up. I corrected the recipe. Let me know what you think of the recipe.