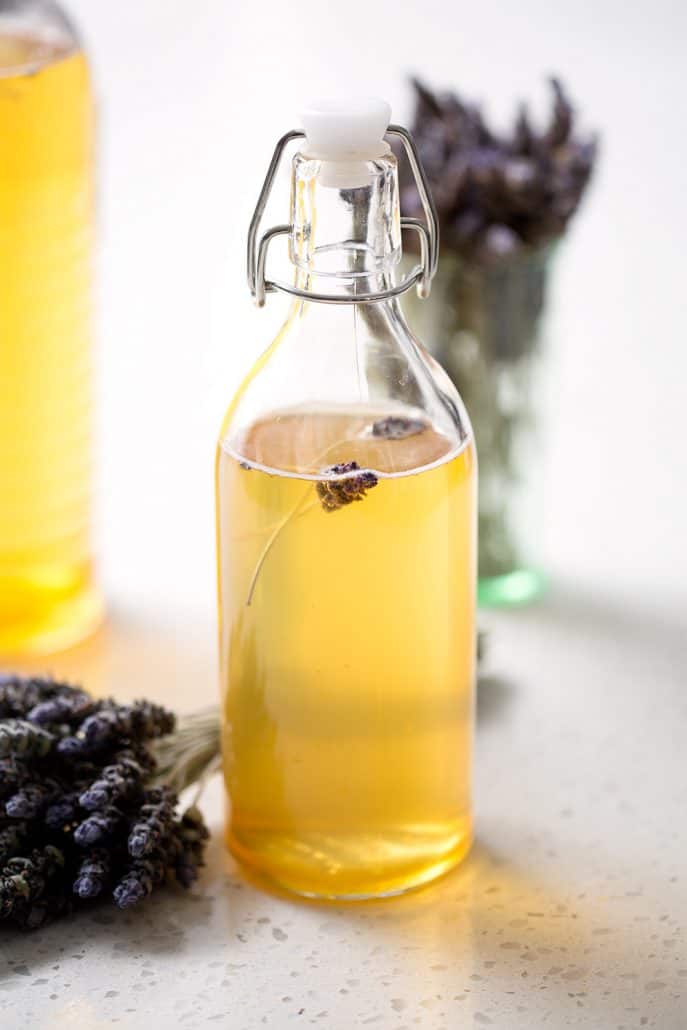
This Honey Lavender Kombucha was my first attempt at making kombucha at home and the recipe has become a favorite. It is super easy to add a little honey and dried lavender to your homemade kombucha brew as it only adds one step that requires minimal effort.

I’ve always had a bit of a black thumb. Growing food, flowers or anything hasn’t come easy for me. I was really struggling with my lavender over the last few years. I've killed more lavender plants that I’d like to admit. I stopped counting after 6.
This year I think I figured it out and my lavender has been flourishing! I’ve been using it constantly. I’m now having a love affair with dried lavender. I’ve included it in AIP Honey Lavender Marshmallows, AIP Herbs de Provence, Chicken Provencal and now my Honey Lavender Kombucha.
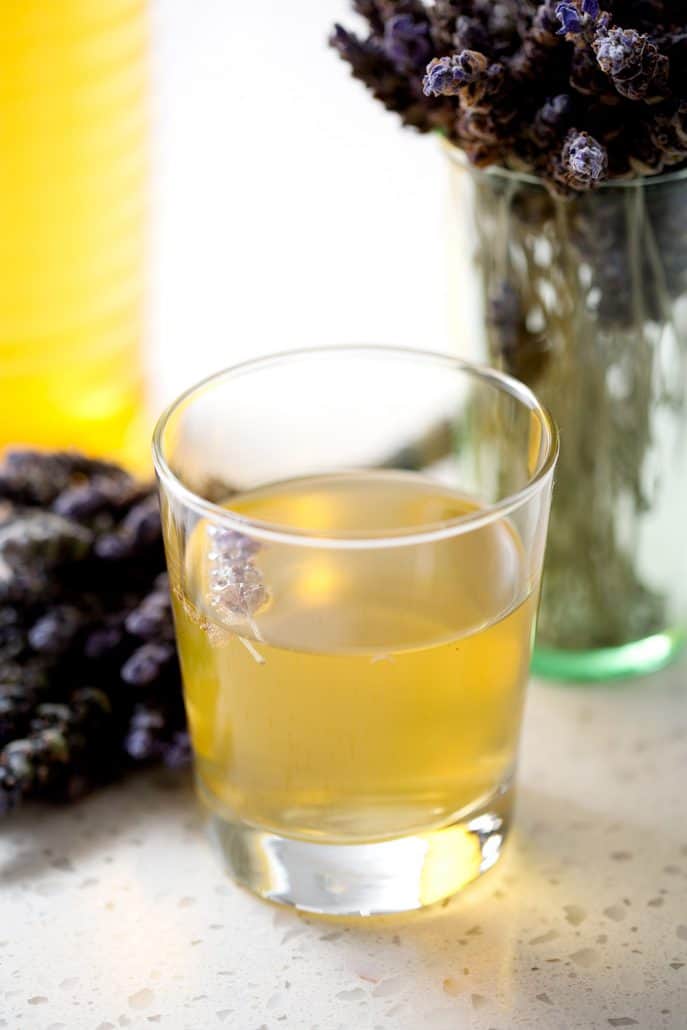
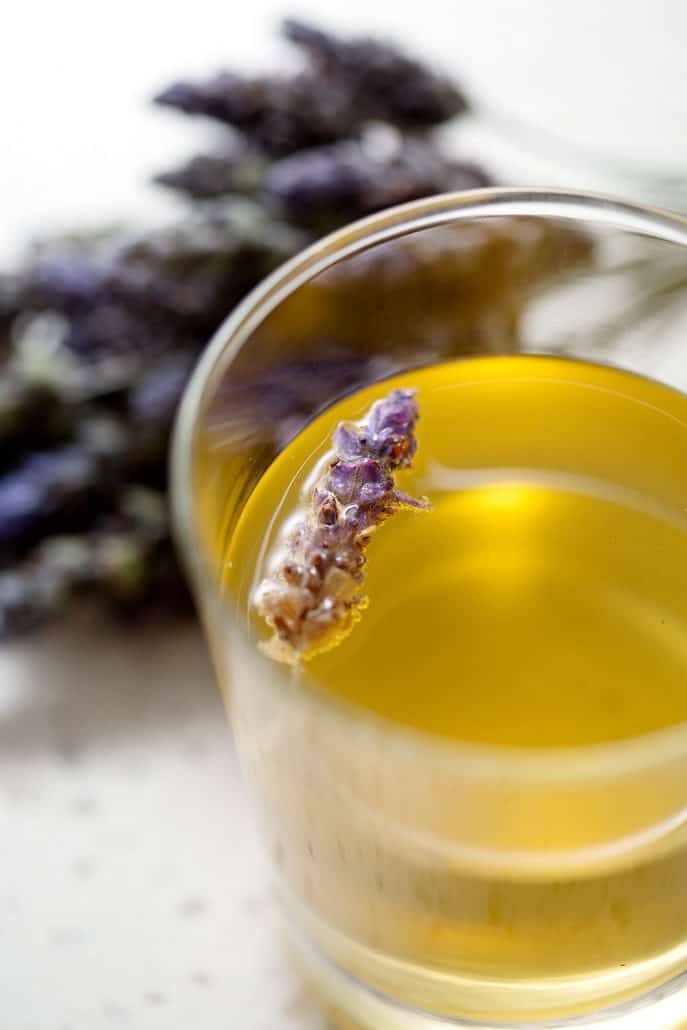
As much as I love lavender, I’ve found out that more is not better with lavender. Too much and it can feel like you are eating or drinking perfume. This recipe keeps the lavender flavor on the lighter side because I used green tea to make the kombucha. I also only include one lavender flavor per 2 cups because I don’t take the lavender out of the bottle. I just leave it in there and it would become too overpowering after awhile. However, feel free to play around with the lavender if you want make the flavor more intense.


Honey Lavender Kombucha
Ingredients
- 5 Dried Lavender flowers one small flower per 1/2 cup or about 3/4 tablespoon dried Lavender buds
- 1/2 cup Honey
- 10 cups Homemade Unflavored Kombucha made with green tea
Instructions
- When you are ready to bottle, remove the SCOBY from the jar.
- Using a strainer pour the kombucha into large measure cups. The measuring cups will make it easier to pour into the bottles.
- Next pour the kombucha into individual bottles leaving some room at the top.
- Then add equal amounts of the lavender and honey into each bottle and cover tightly then place in the fridge.
- If you like carbonated kombucha you’ll need to do a second fermentation.
- To do a second ferment, instead of placing the bottles in the fridge, place the bottles somewhere at room temperature out of direct sunlight (such as a cabinet) and let them continue to ferment for 1-2 days.
- Take care to ‘burp’ the bottles each day. Burping means that you need to open the bottles and release the pressure the fermentation creates. This is no joke. Do not forget because if the pressure builds up, the bottles could explode.
Nutrition
Thanks for all the varieties of flavors.
This is so delicious. Great recipe.
It's a favorite of mine as well.