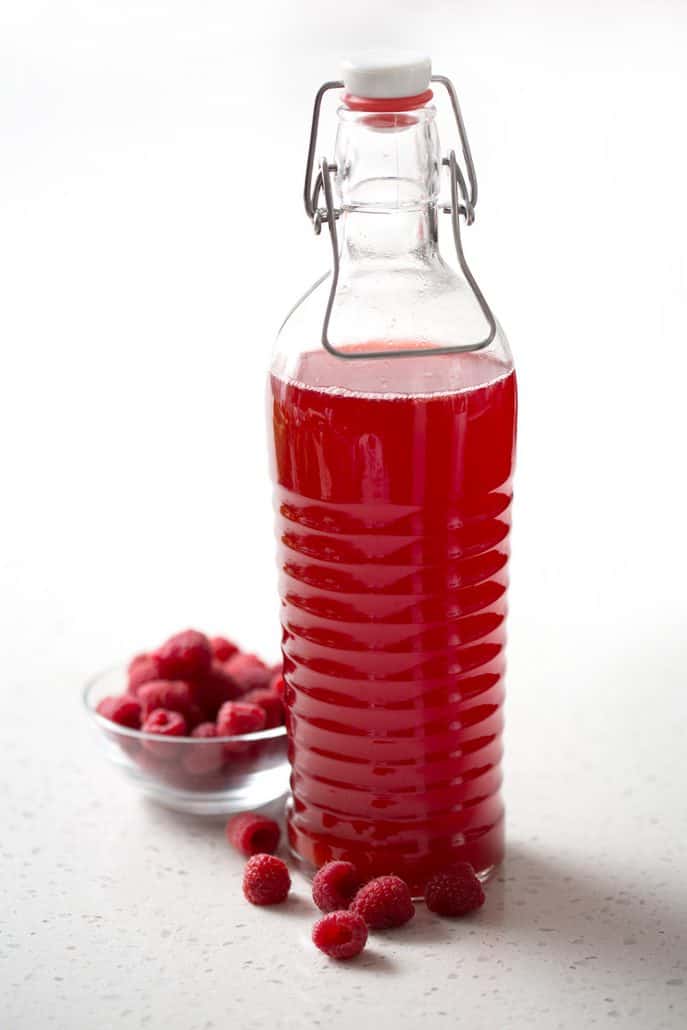
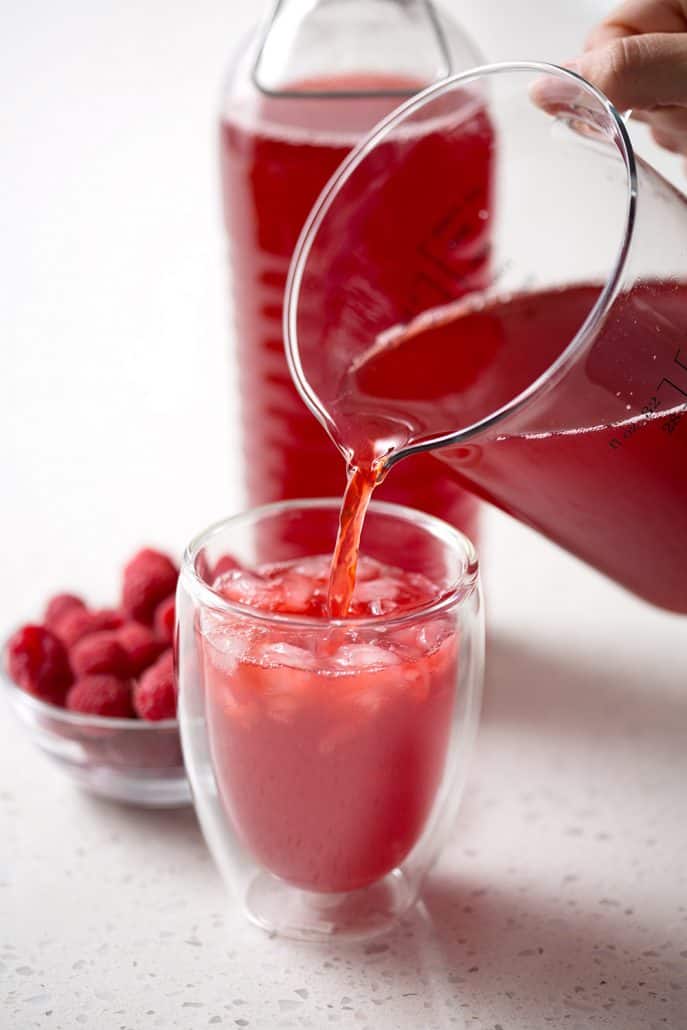
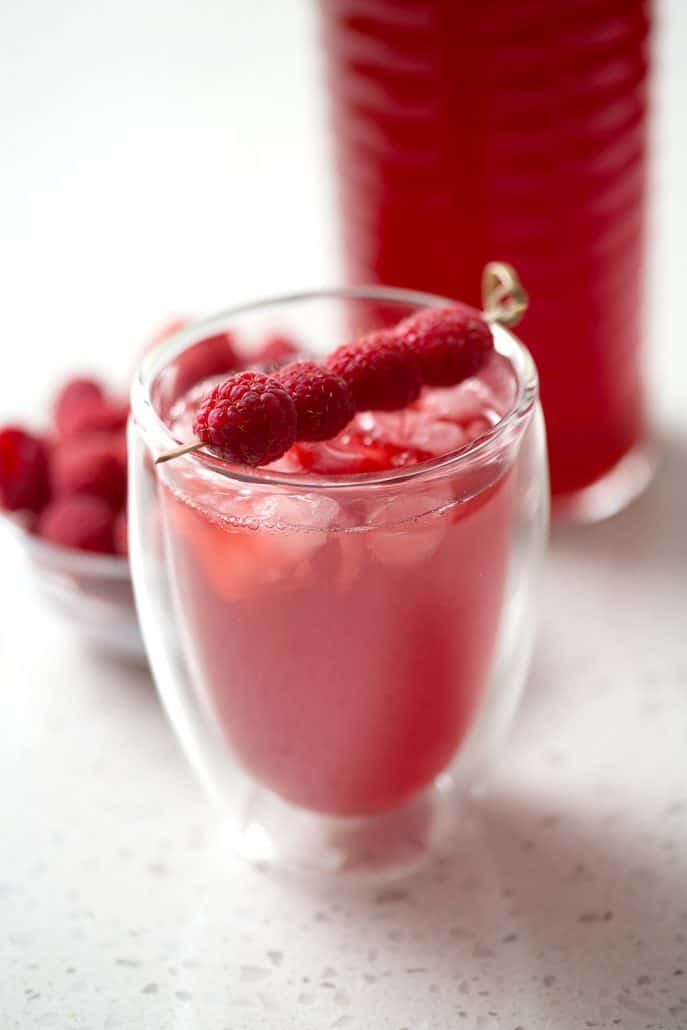
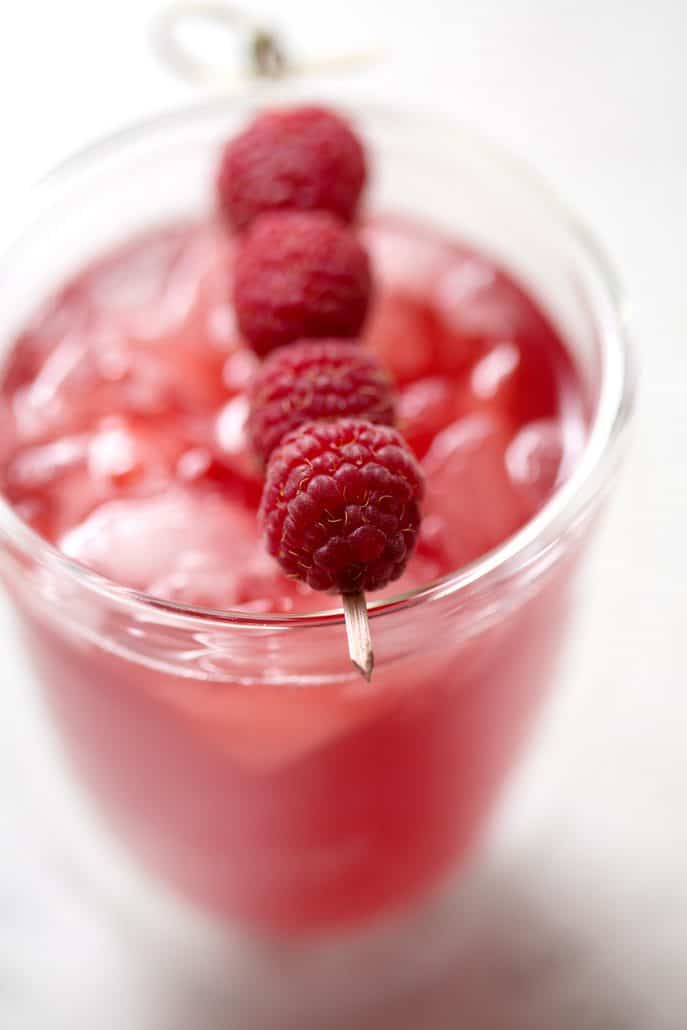
I’m so excited for summer and all the fresh veggies and fruit that come with it. Here is San Diego we get to the taste of summer a little earlier than most places because we get the warm weather a lot sooner. That means raspberries! I love all things berries so it was completely natural for me to throw raspberries into my kombucha. The flavor of the Raspberry Thyme Kombucha was so intense. It’s exactly how you want a pink drink to taste.
I love adding herbs to something sweet. It gives some depth to the flavor. Thyme isn’t an overpowering or strong herb. It gives just a hint, which really comes out in the fragrance of the kombucha.
I used fresh thyme because I thought that dried may be to strong. Dried herbs have concentrated flavors (kinda like dried fruit) and I didn’t want the thyme to be too strong. However, if that were all you have then I would only try about 1/4 teaspoon.
Do you have any kombucha-making questions? I’m becoming quite the expert. We always seem to have kombucha brewing on our counter and baby scoby’s in the fridge. So, please feel free to ask your questions.
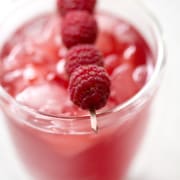
Raspberry Thyme Kombucha
Equipment
- Saucepan
Ingredients
- 2 cups Raspberries I used frozen raspberries but fresh would be fine as well
- 4 pieces Fresh Thyme
- 1/2 cup Honey
- 10 cups Homemade Unflavored Kombucha
Instructions
- Add the raspberries, thyme and honey to a saucepan and stir to combine.
- Remove from heat as soon as the honey softens.
- Let the raspberry mixture cool to room temperature.
- You’ll want to add the raspberry mixture to your jar of homemade kombucha after you remove the SCOBY but before you transfer to bottles.
- Cover with your cloth and secure with a rubber band.
- Place somewhere at room temperature out of direct sunlight (such as a cabinet) and let ferment for 1-2 more days. The temperature greatly affects the speed at which the tea will ferment so you’ll need to go by taste.
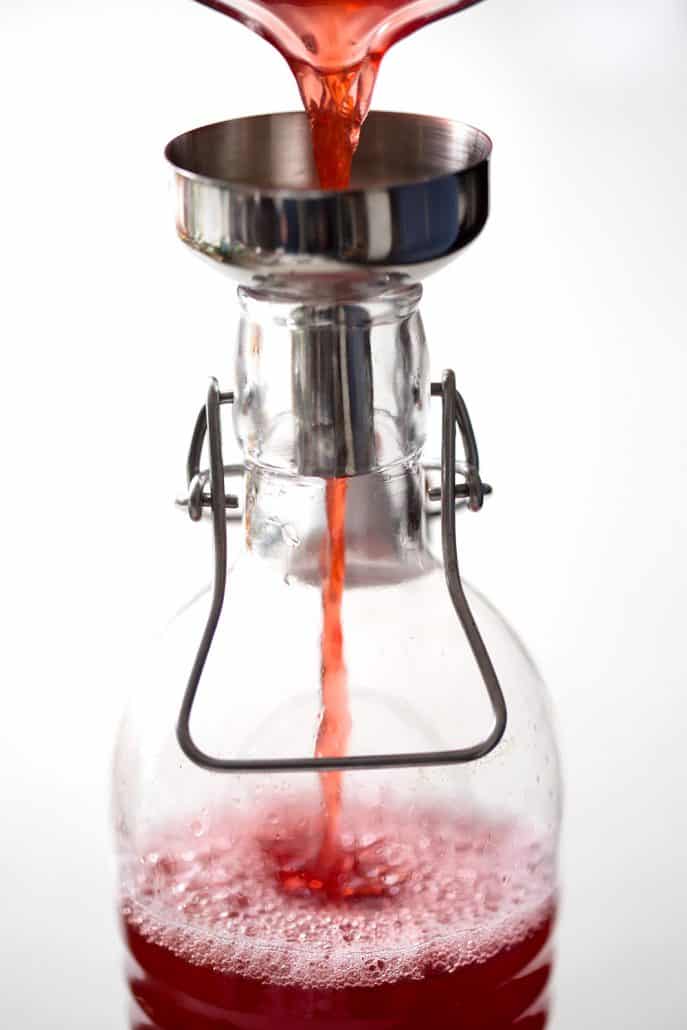
- When you are ready to bottle, remove the raspberries from the jar.
- Using a strainer pour the kombucha into large measure cups. This is optional but the measuring cups will make it easier to pour into the bottles.
- Next pour the kombucha into individual bottles leaving some room at the top then cover tightly then place in the fridge.
- If you like carbonated kombucha you’ll need to do a second fermentation.
- To do a second ferment, instead of placing the bottles in the fridge, place the bottles somewhere at room temperature out of direct sunlight (such as a cabinet) and let them continue to ferment for 1-2 days.
- Take care to ‘burp’ the bottles each day. Burping means that you need to open the bottles and release the pressure the fermentation creates. This is no joke. Do not forget because if the pressure builds up, the bottles could explode.
Notes
Nutrition
This one is just scrumptious!